


K is for Kitchen Lithography
K is for Kitchen Lithography
I made all the mistakes so you won't have to

Hello friends.
Yesterday morning I thought; ‘Right! I’ll do a quick kitchen lithograph DIY for the blog, easy peasy, it will take me about an hour or so, bish bash bosh1, I will be back at my lino block before lunch. What could possibly go wrong?
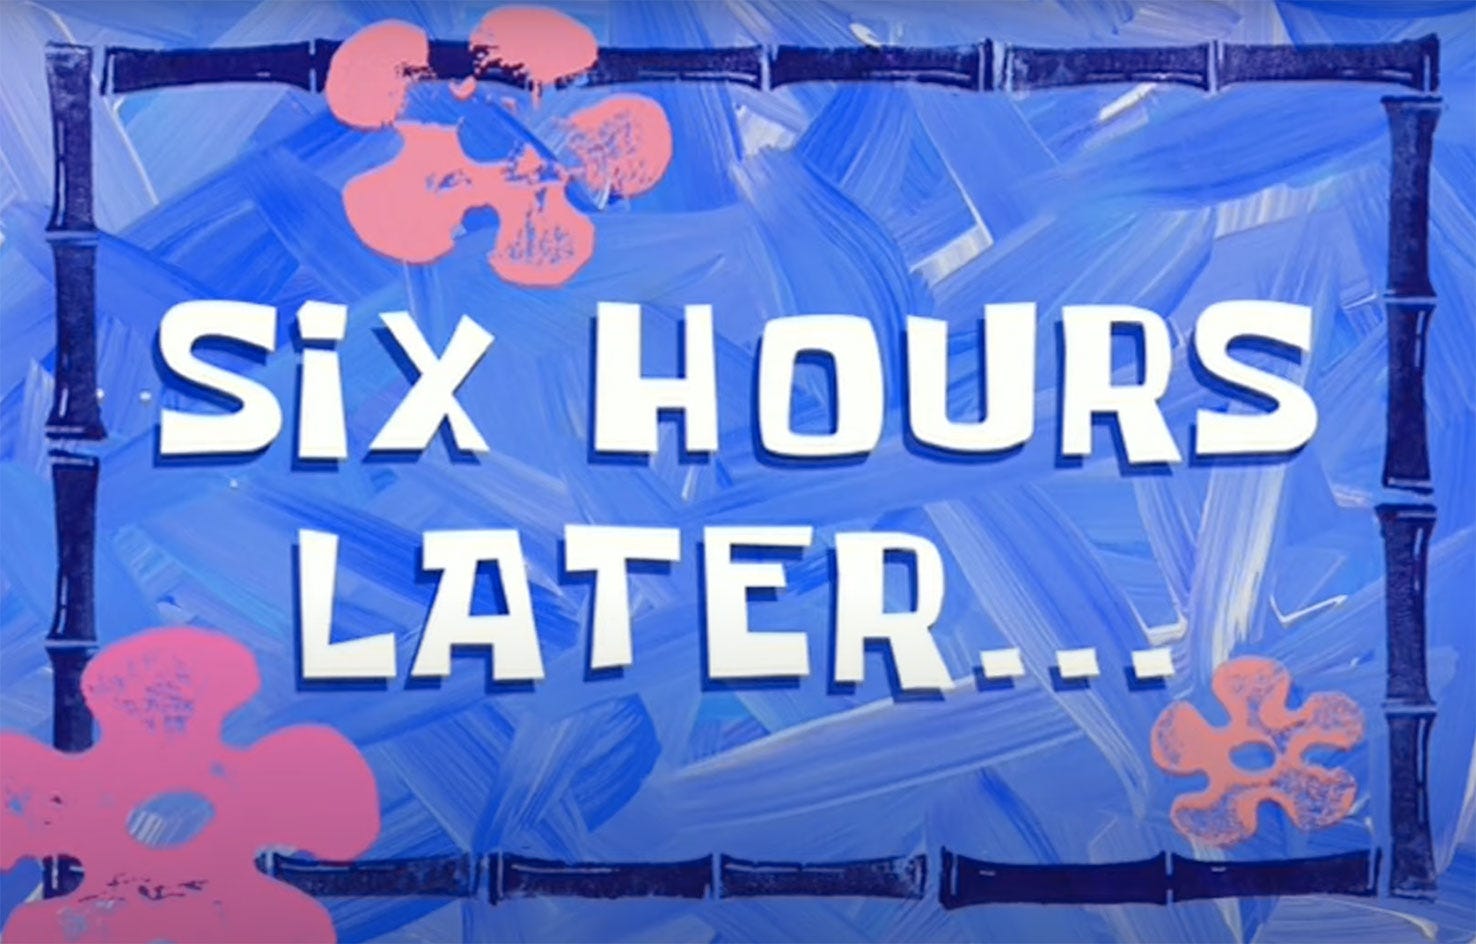
Cut to 6 hours later, the studio looks like a small tornado passed through and I (plus the cat) experienced almost all 87 emotions from Brené Brown’s Atlas of the Heart chart. It was quite the ride.
In this post I’ll show you what not to do when you want to make a kitchen lithograph. I made all the mistakes one can possibly make during this process so that you won’t have to! Let’s pretend this was my plan all along.
Materials needed:
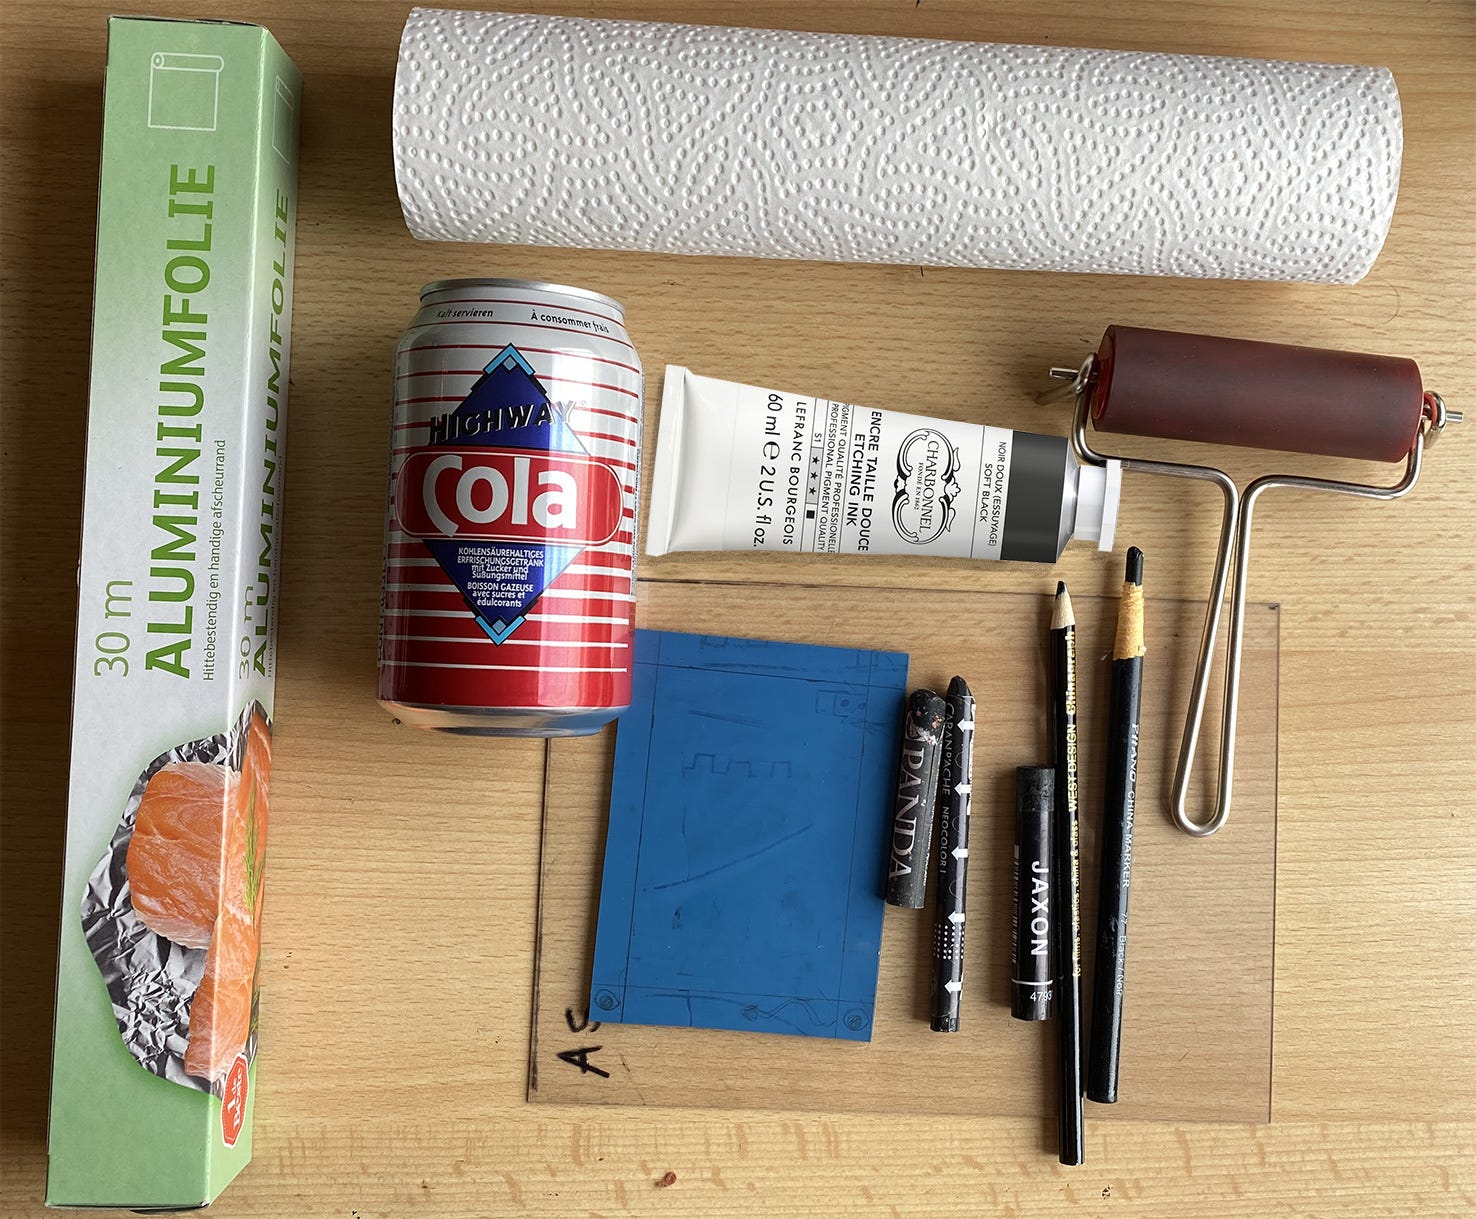
Aluminium foil
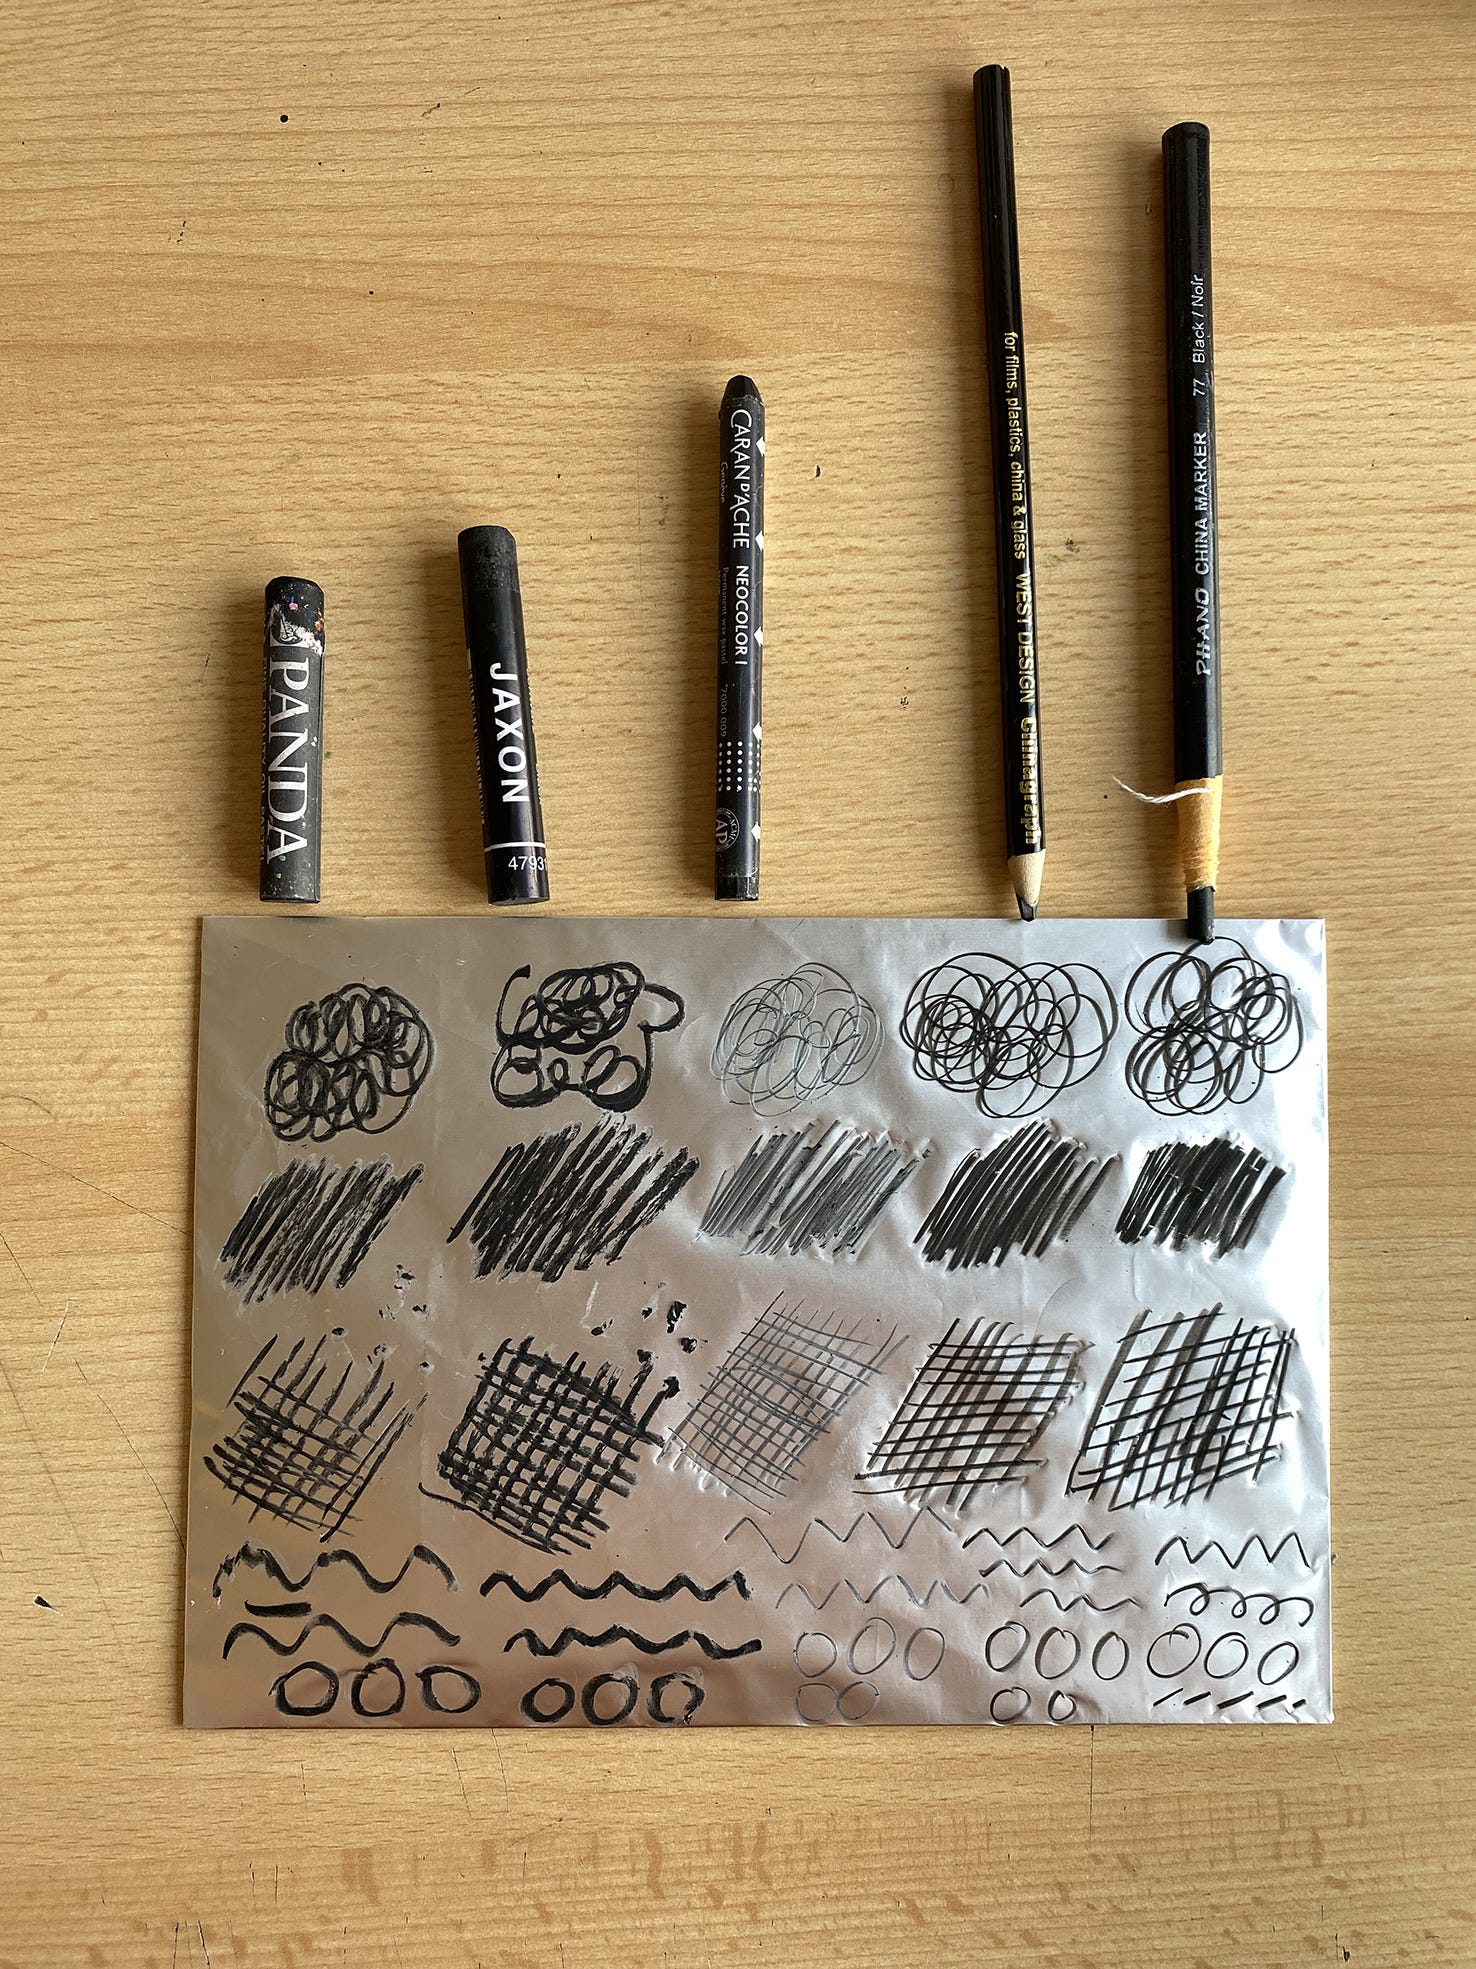
Oil based crayon or pencil like an oil pastel, NeoColor I (not the II) or a chinagraph pencil
Piece of plastic (I used a piece of PVC I use for mono printing)
Coca Cola (any brand, I used the cheapest I could find, but it must contain phosphoric acid)
Oil based ink (Not safe wash)
Roller/Brayer
Wooden spoon
Glass plate to roll ink onto
2 Baking trays, 1 to pour the coke over the plate and 1 to clean the plate with water
2 measuring cups for pouring
Kitchen towel or micro-fiber cloth
Optional: rubber gloves
Vegetable oil for cleaning up
Step 1
Fold your aluminium foil onto your PVC plate so that the shiny side will be the side you’ll be printing on. Now, I know this seems very straight forward. However, I managed to mess this up quite a few times. Here are some tips:
Wet your PVC plate slightly before placing it onto the foil. This way it won’t around move as much. (See the gag reel at the end for examples of wobbly prints.)
Make sure not to touch the printing area of your foil. Every fingerprint will be visible.
Once you’ve wrapped the PVC in the foil, smooth out the printing surface with your gloved hands or with a wet cloth.
Step 2
Draw something on the foil with an oil based crayon or pencil.
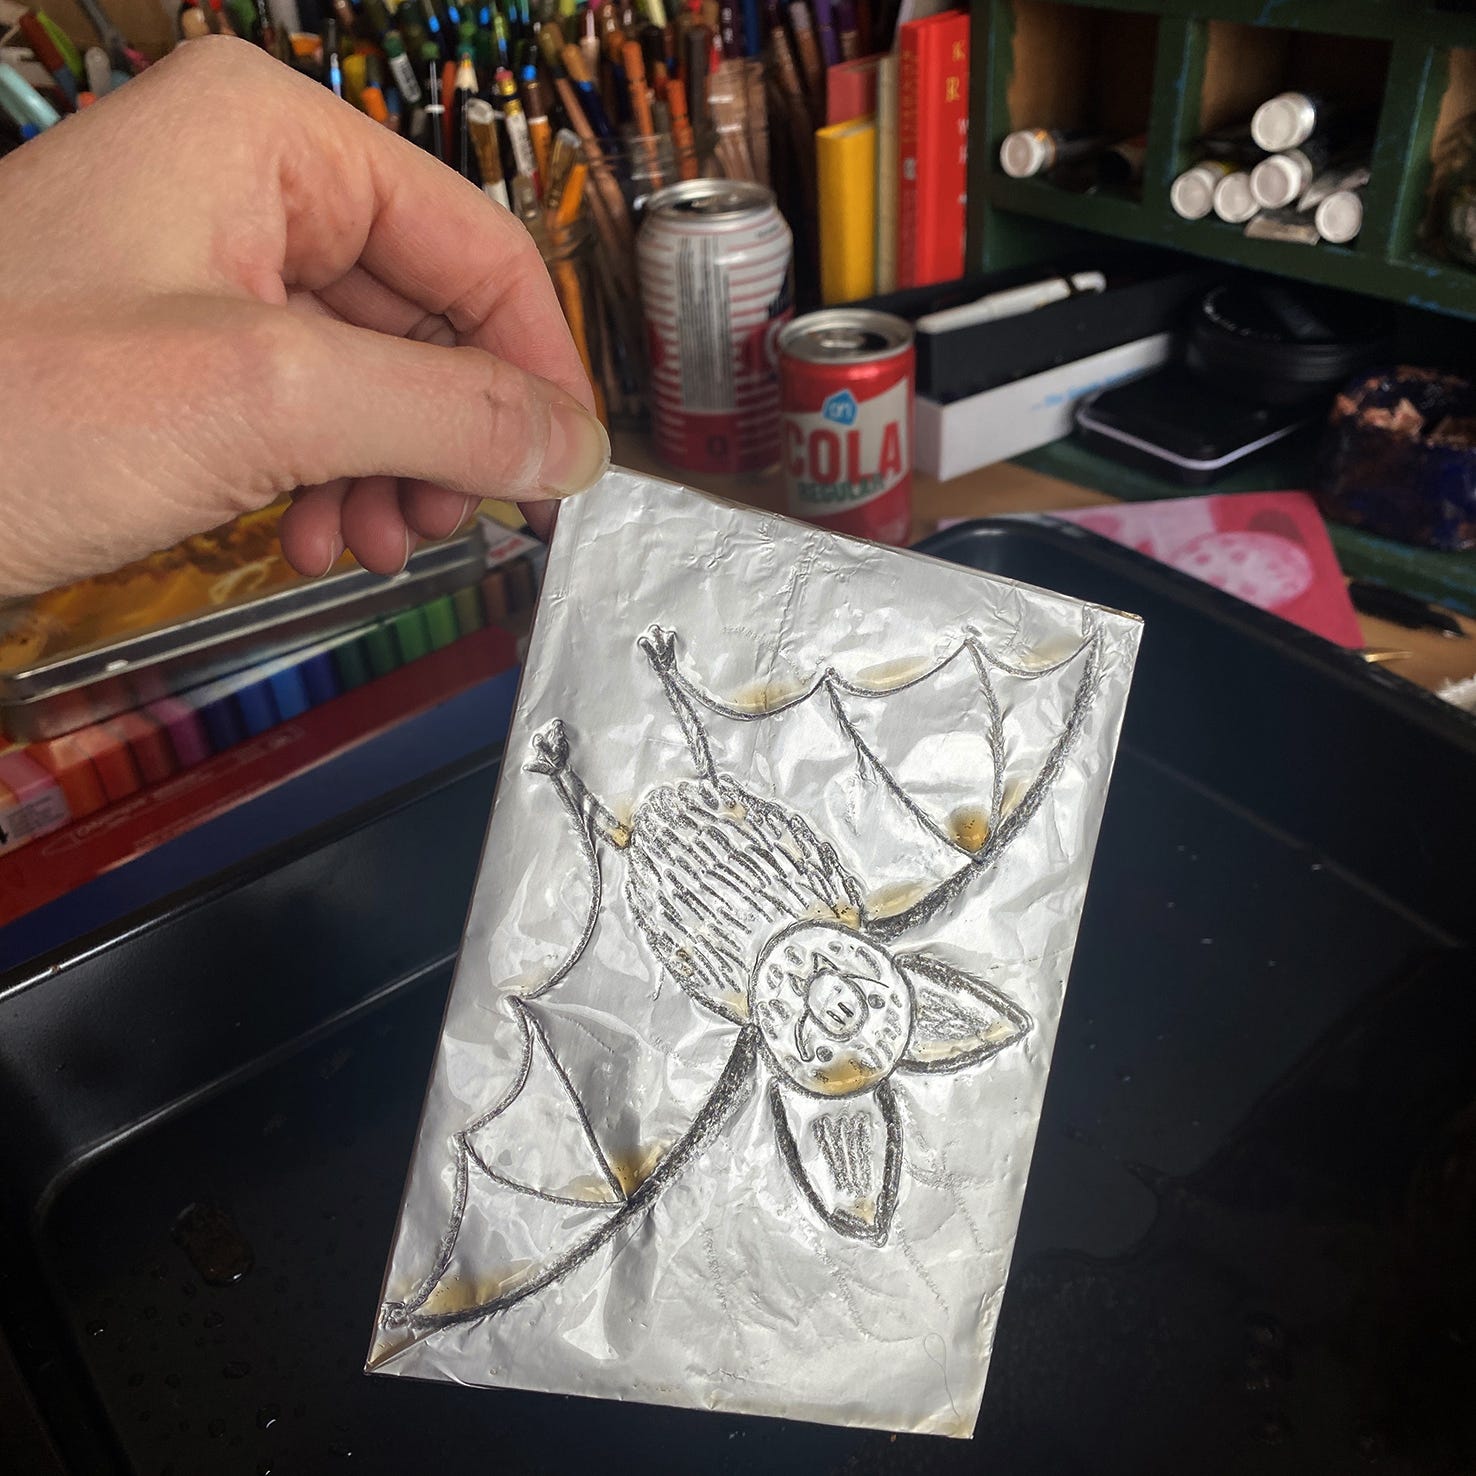
Step 3
Pour the coke over your printing plate. You can use it for multiple plates.
Step 4
Rinse the printing plate with water, and place the slightly damp plate onto your desk/printing area.
Step 5
After making sure your plate is damp you can ink up your plate. The water will repel the oil based ink, making it stick only to your drawing. If your plate is too dry, it will look like the first image below. If your ink is water based and not oil based, your plate will look like the second image below.


(At this point I realised I didn’t have the right ink, so I dashed out to my local art supply shop to get some etching ink, frustrating the cat who had just gotten comfy in her box on my desk. She’s not allowed alone in the studio, as she has a tendency to try and eat my plants (which are toxic and up high on my shelves) or nibble on the fairy lights. 30 minutes later I’m back in the studio with the right ink and Umi (the cat) is back in her box, sulking.)
Step 6
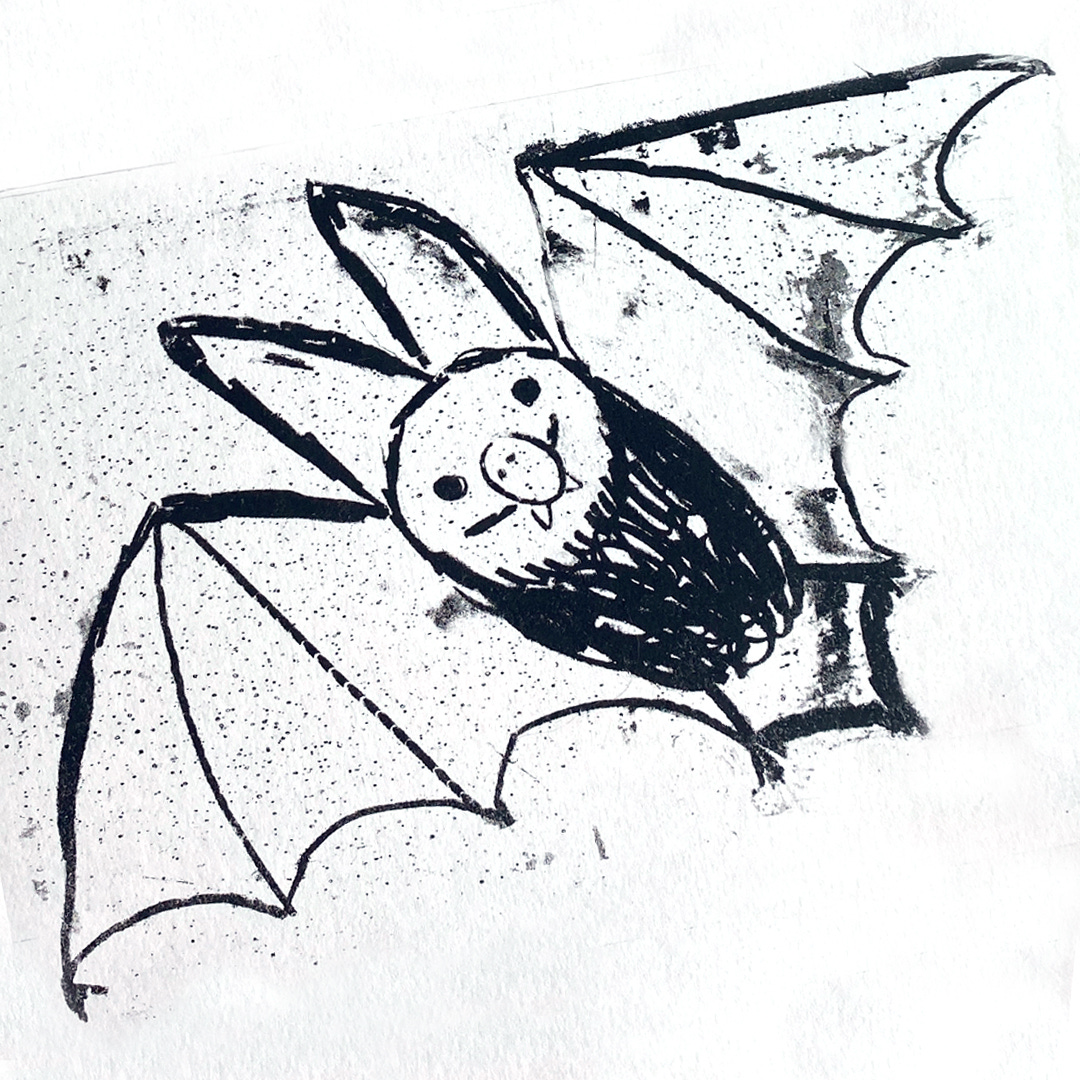
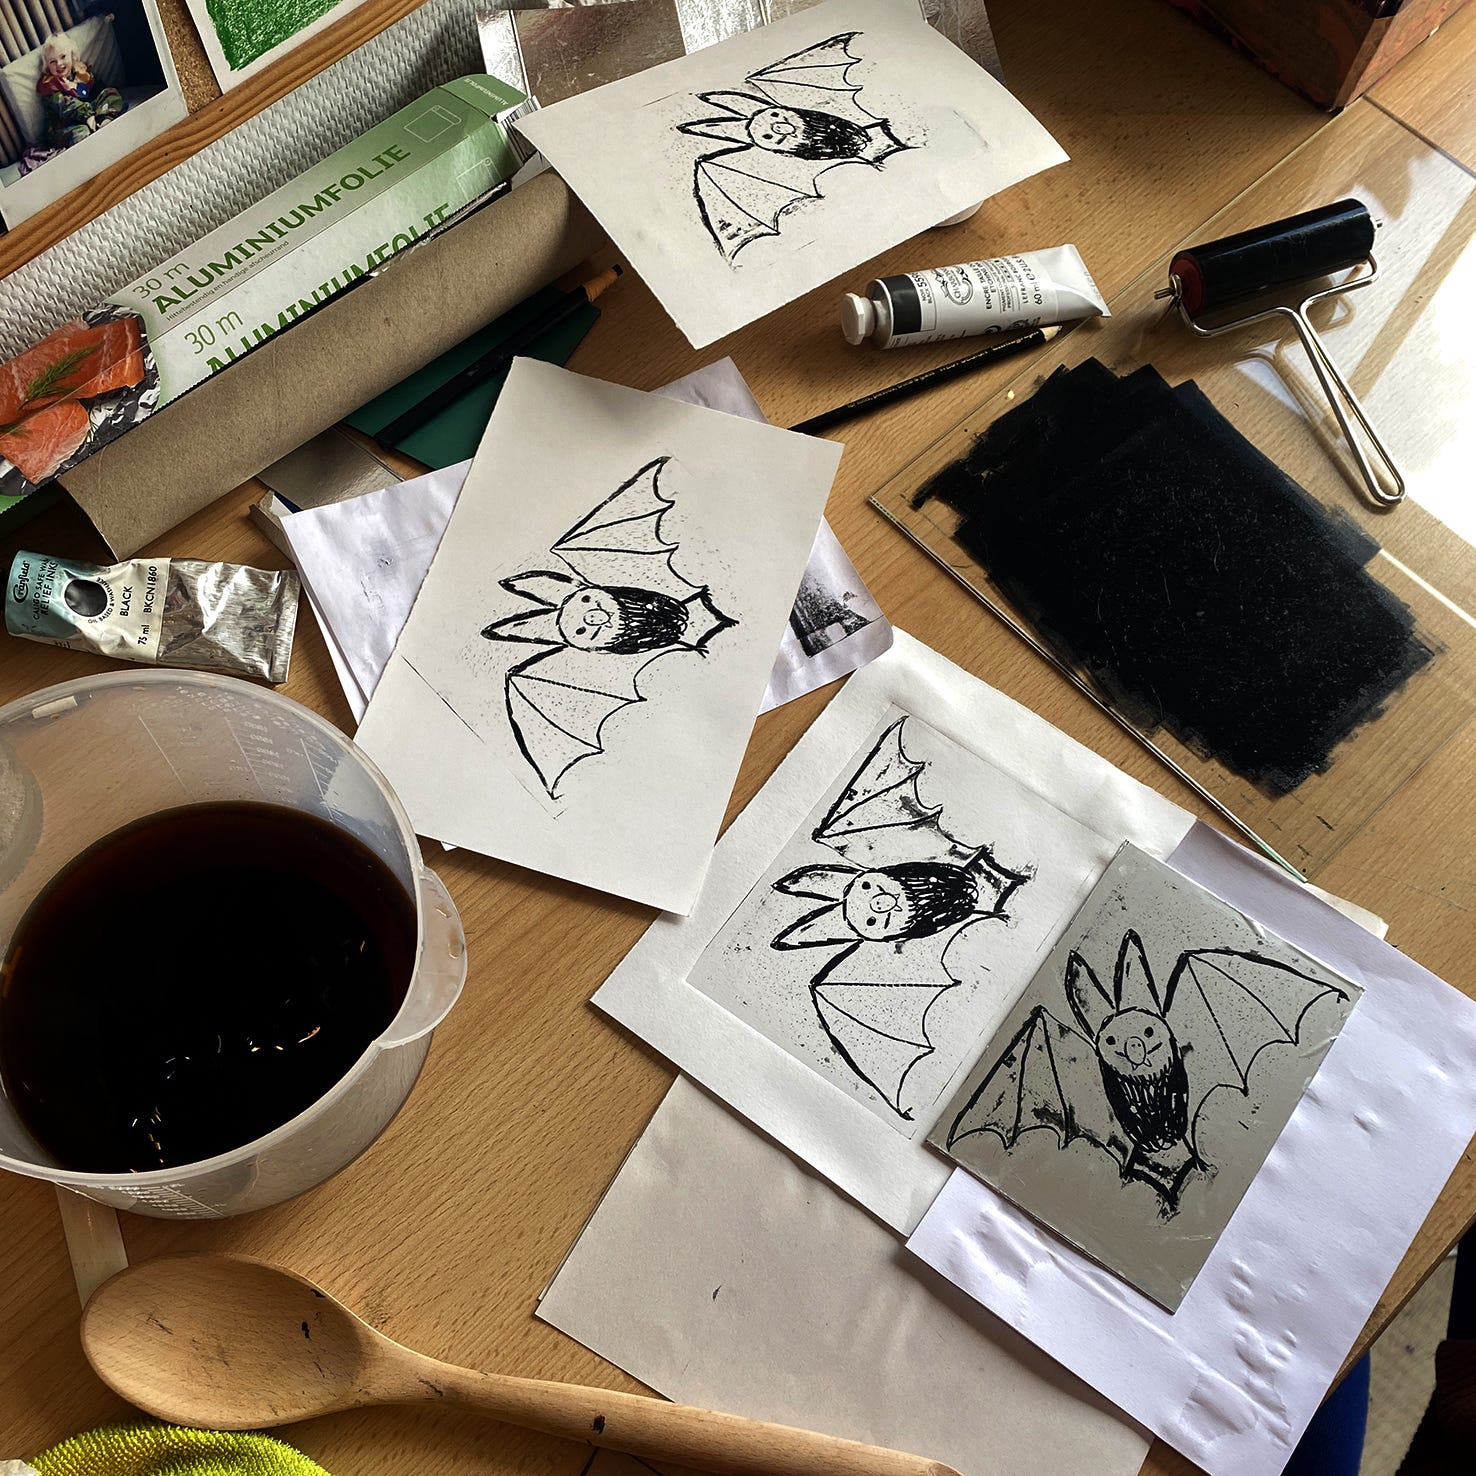
Place a piece of paper on top of your inked up plate and use the back of a wooden spoon as a baren, applying even pressure over the entire plate. Peal the paper off carefully and voila! Your kitchen lithograph is done. I made a test plate (three times..) to see what kind of marks I would get from different materials.
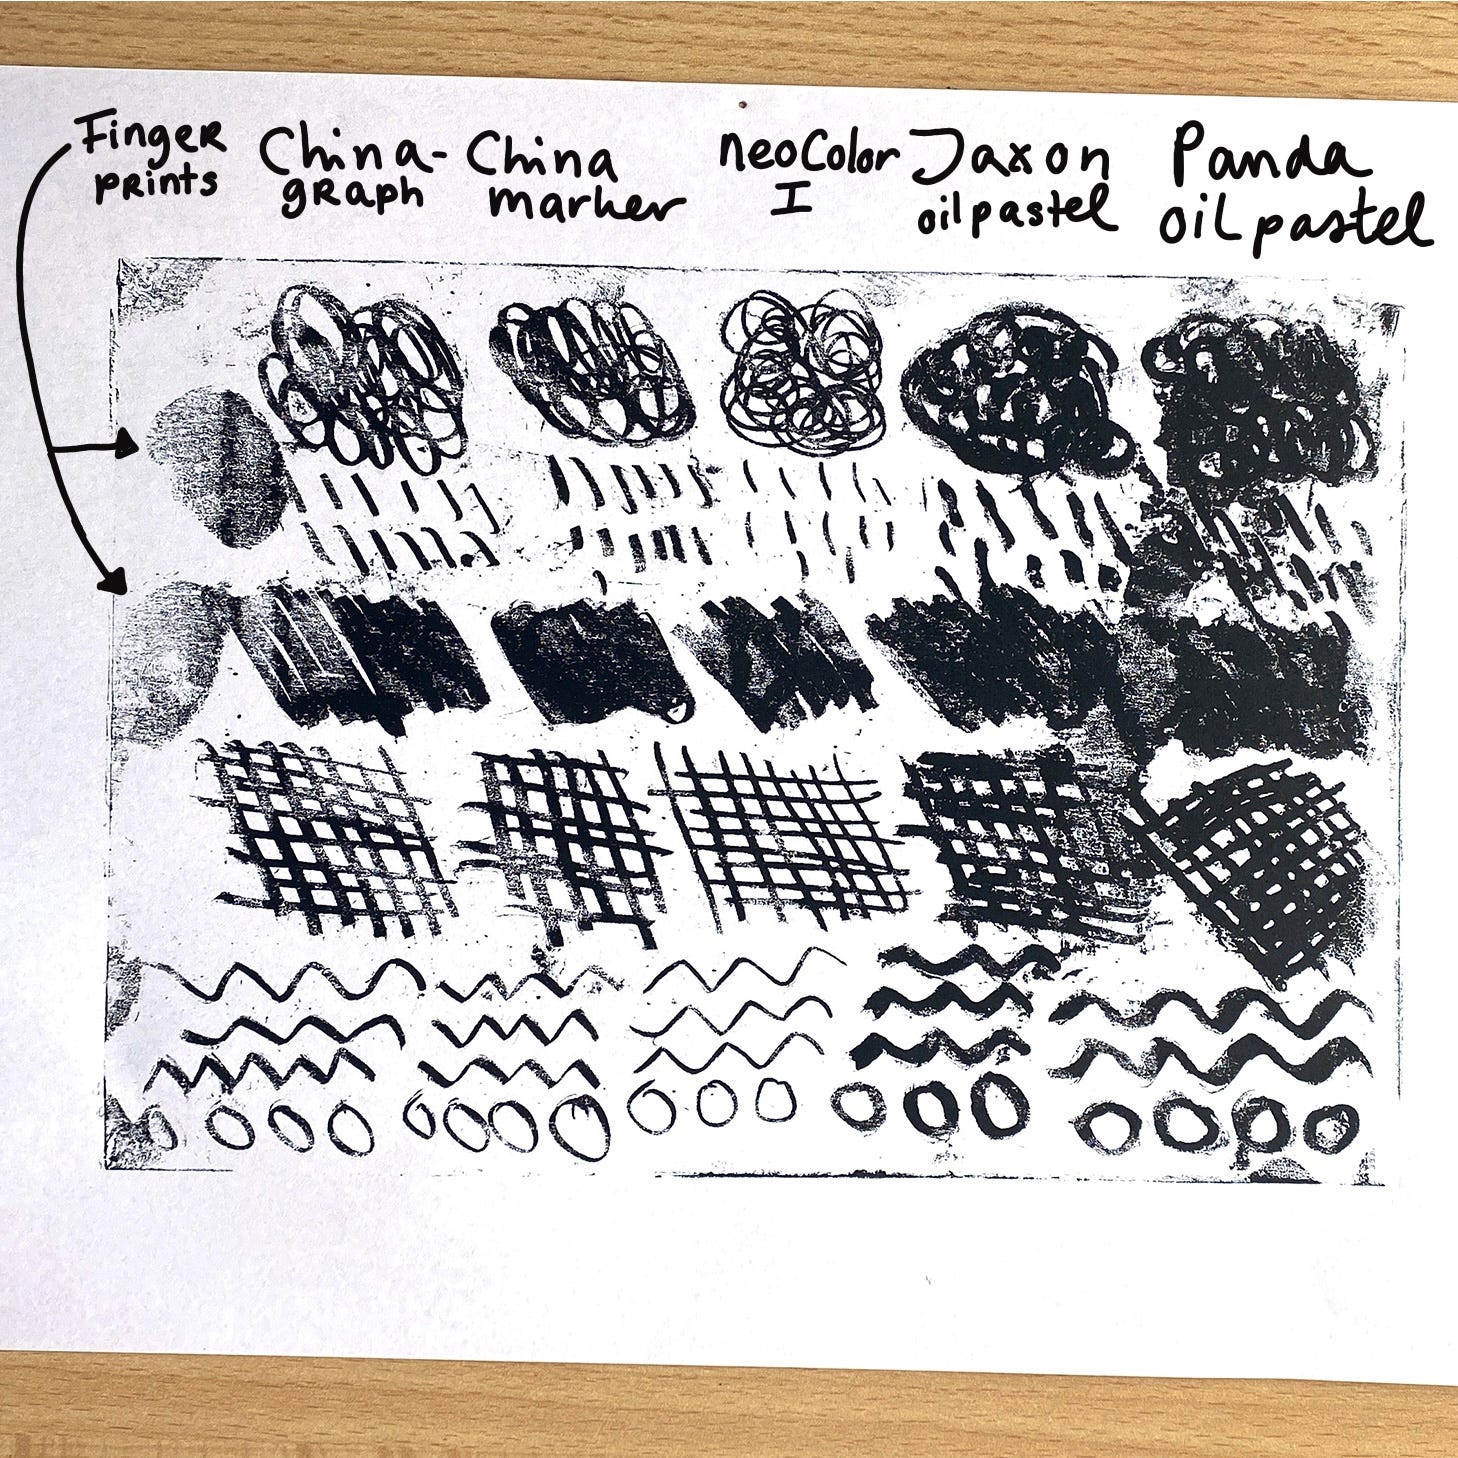

Make sure to experiment with different marks. The print above turned out okay, but is a bit boring due to the lack of mark making.
If you want to print several sheets from one plate, make sure to re-wet your plate with a sponge or wet cloth before inking up again.
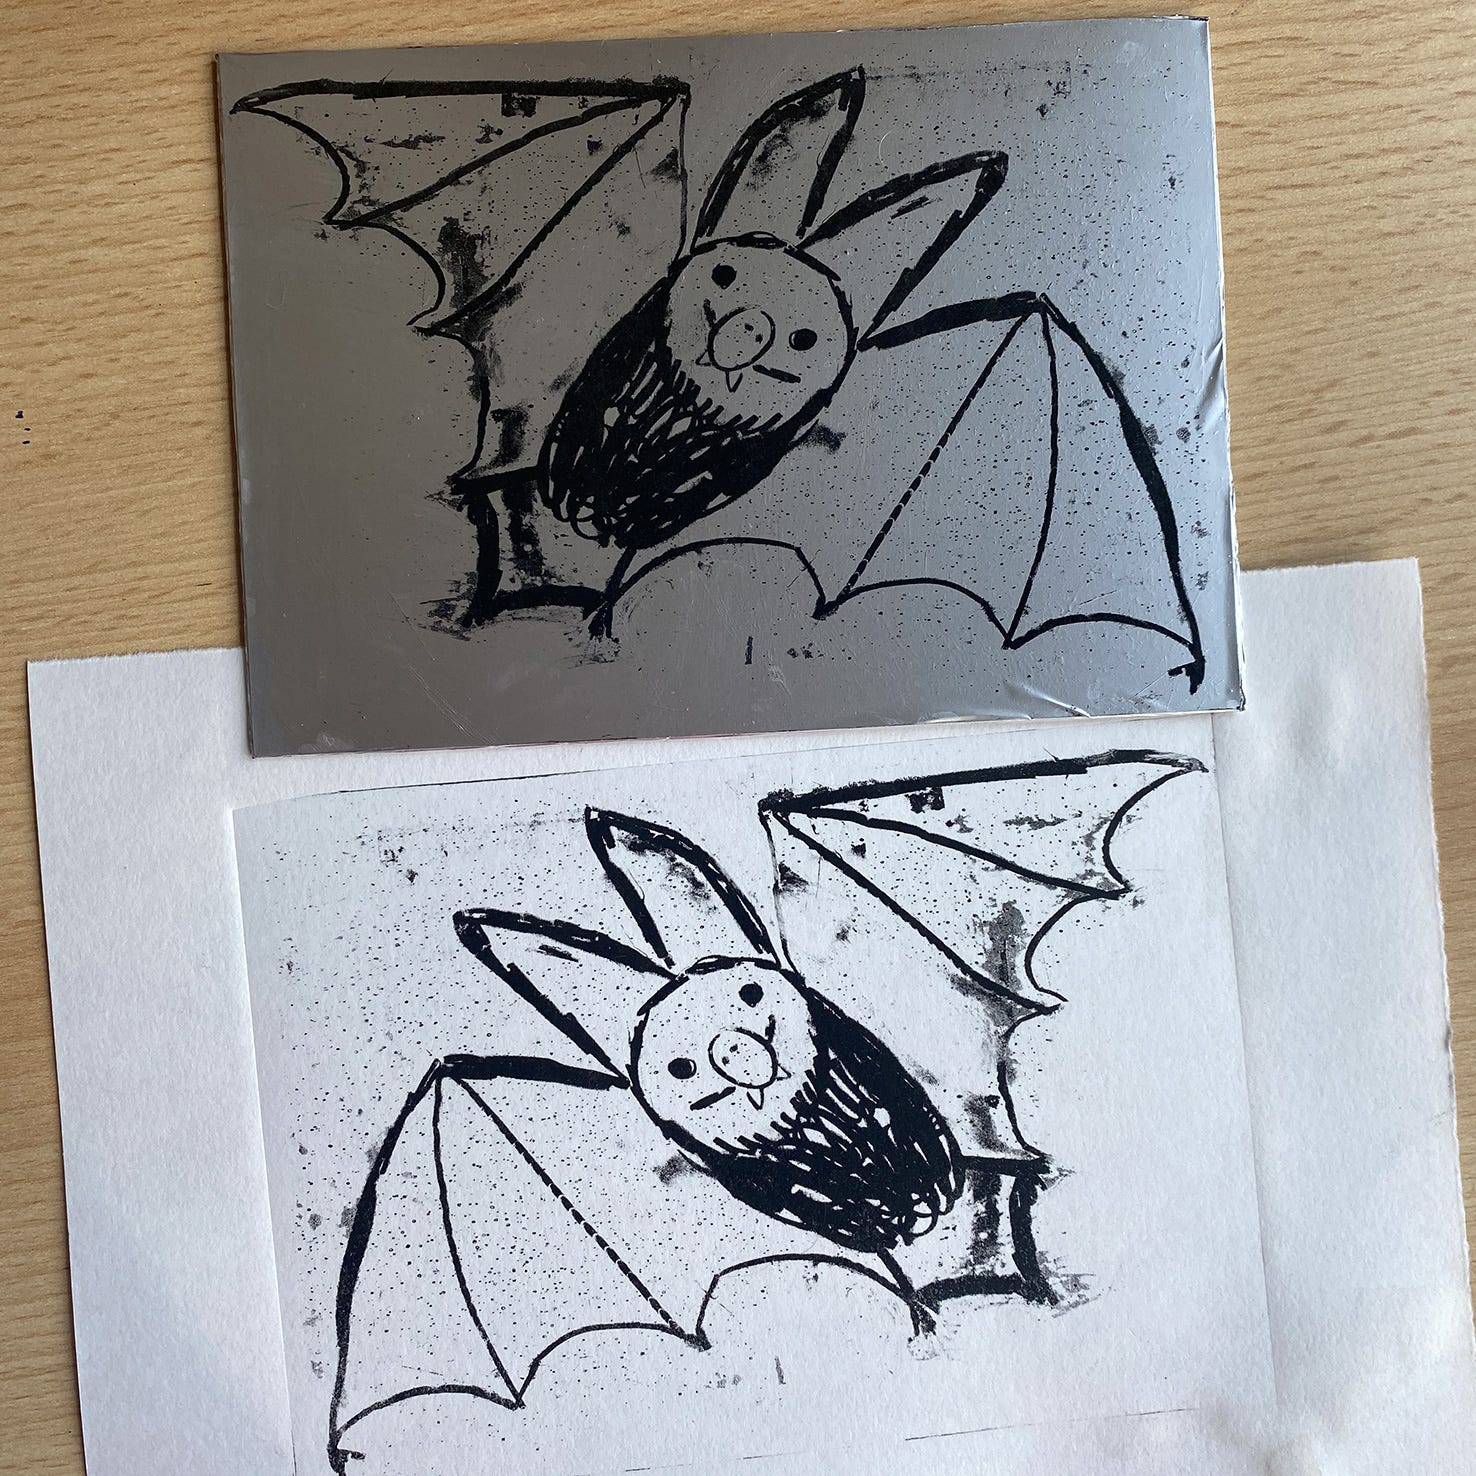
After several (failed) attempts and many wobbly prints I finally got one I liked!


There are many excellent videos below that document the process. In my defence, this reel by Viola Wang made it look so easy! I just forgot about the water rejects oil bit of the process, small but significant detail :D If you decide to try this technique, let me know how it goes.
Thanks for being here and see you next time.
X Maris
Links:
Viola Wang Studio YouTube
Make sure to follow Viola on Instagram where she did an epic 100 day printmaking project
Handprinted YouTube & Blogpost
Kathy Schumacher YouTube
The Dutch equivalent is ‘Hupsakee!’ :)